Flow BuilderPro
A flow is a scripted path through the chat: you decide the questions, the branches and the actions, and hand over to the AI where free conversation works better.
The Flow Builder is a Pro feature, under AI Assistant → Automations → Flow Builder. Use a flow when the steps must always be the same, such as collecting an e-mail address, triaging a support request or handling a warranty claim.
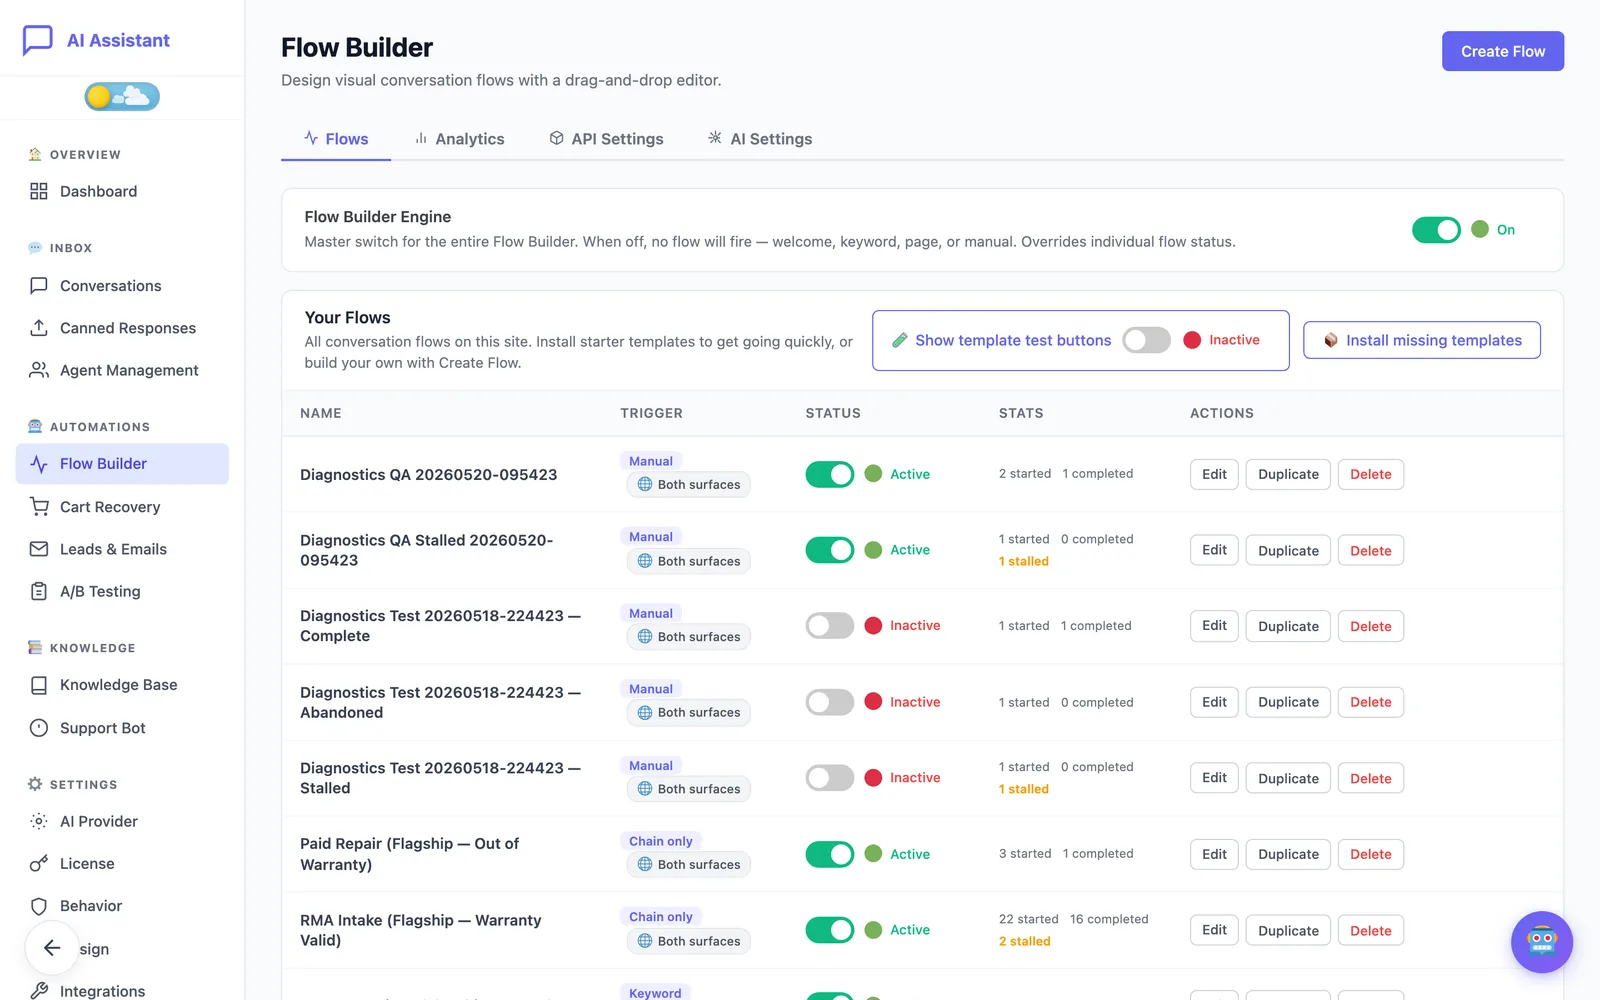
Turn the engine on
Flow Builder Engine at the top of the Flows tab is the master switch, and it is off on a new install. While it is off no flow runs, whatever its own status. Review your flows first, then switch it on.
Start from a template
- On the Flows tab, click Install missing templates.
- Click Edit on the template you want and adapt the wording to your store.
- Set its status to Active when you are ready.
The plugin ships with eight templates:
- Welcome + Email Capture: greets new visitors, asks for their name and e-mail, then hands over to the AI. A safe first flow.
- Customer Support Triage: asks what the customer needs and routes billing and refund questions to a person.
- Pre-Checkout Hesitation Filter: asks customers who linger on the checkout why they hesitate, and offers a coupon only to those comparing prices.
- Cart Abandonment Recovery: reminds a customer about a cart they left.
- Post-Purchase Review Request: asks for a star rating after an order, sends happy customers to a review link and unhappy ones to your team.
- Warranty Triage, RMA Intake and Paid Repair: three chained flows for warranty claims. The first reads the customer’s uploaded invoice and sends them to one of the other two.
Build a flow
- Click Create Flow and give the flow a name.
- Choose a Trigger and a Scope (see below).
- Drag nodes from the Nodes palette onto the canvas and connect them in the order the conversation should follow.
- Click a node to edit it in Node Properties.
- Click Save Flow. If the Issues counter shows problems, open it: it lists what to fix, such as an action that is missing its settings.
Triggers
- Manual (Starter Chip): starts when the customer clicks its button in the chat.
- On Conversation Start: starts when a visitor opens the chat.
- Keyword Match: starts when a message contains one of your keywords.
- When on Page: starts on the pages you choose.
- After Purchase (WooCommerce) and After Cart Abandonment (WooCommerce): start after a store event.
- From another flow (chain only): never starts by itself; another flow sends the customer to it.
Scope decides where the flow runs: the chat widget, the Support Bot or both.
Nodes
- Message: the assistant says something.
- Question: asks the customer something, with answer buttons to choose from.
- Condition: branches the flow, for example on the cart value, the page, whether the customer is logged in or an earlier answer.
- Action: does something. The action types are Escalate to Agent, Tag Conversation, Capture Email, Redirect, Apply Coupon, Add Product to Cart, Go to Flow and Send Email.
- AI Handoff: ends the script and lets the AI continue the conversation.
- AI Engine: asks the AI one thing in the middle of a flow (categorise a message, extract details or write a text) and stores the result for later nodes.
- API Call: sends an HTTP request to an external service and stores the response. The service’s host must first be added to the allow-list on the API Settings tab, where you also store any credentials it needs.
- Wait: pauses before the next step.
- Capture File: asks the customer to upload files such as a PDF or photo. With AI vision it can read an invoice or receipt.
A customer is never trapped in a flow: if they ask for a human or use one of your escalation keywords, the flow stops and the request follows your escalation settings.
Test a flow
- Open the flow in the editor and click Save Flow. Testing needs a saved flow.
- Click ▶ Test Flow. Your store opens in a new tab with the flow ready to run, even though you are logged in as an administrator.
- Walk through every branch, including the answers you don’t expect customers to give.
- Back in the editor, click Cleanup Test Data to delete the test sessions. Real customer conversations are not affected.
Keep a new flow in Draft or Inactive until the test passes, then set it to Active.
See how flows perform
The Analytics tab shows, per flow, how many customers started and completed it, and flags flows that stall or have a low completion rate. It also lists the nodes where customers most often drop out, so you know which step to rewrite.
Still stuck?
Check the troubleshooting guide, or contact support and tell us what you tried.